
First, studs had to be added because the PO didn't believe in 16" centers apparently.

Then we had to get them level - shimming, unshimming and so on.

 |
| And so this is how we finally got the tub to be level----shhhhhhhh - don't tell! |

 |
| Love the Kerdi! It really is a great project - but you have to be FAST!!!!! We did wet down both the drywall and CBB, but it still dried quickly. |
Next, drywall, cement backer board - what??? drywall behind a shower - that's what Kerdi says - the orange water proof

 |
| Here is the making of the story stick - so we could see where the tiles would lay out. |
 |
| And this is another way to see how the tiles lay out - this is Chuck's preference so he can just SEE IT!!! If you look closely there's our planned for niche - It was gonna be so cool! We just felt we weren't at this leveling of tiling or Kerdi waterproofing to do this yet - maybe upstairs. |
 |
| The installation of the bathroom exhaust fan. Fun Stuff! |
Then there was the stress of - do we put in a niche or do we not - after much "debate" over how to do it, we opted for no niche - you know they make some lovely shower organizers these days that will work just fine. A niche would be nice - but not this time.
 So the Kerdi is up - wait a week or 2 or .... maybe it was 4 or 5 and we finally decided tiling time had arrived!! Woot Woot
It was a learning experience - but overall I think it turned out ok. I do want to give a big thanks!!! to the humans on the John Bridge Tile Forum who helped get me headed in the right direction and feeling like I could do it and helping me figure out which thinset to use.


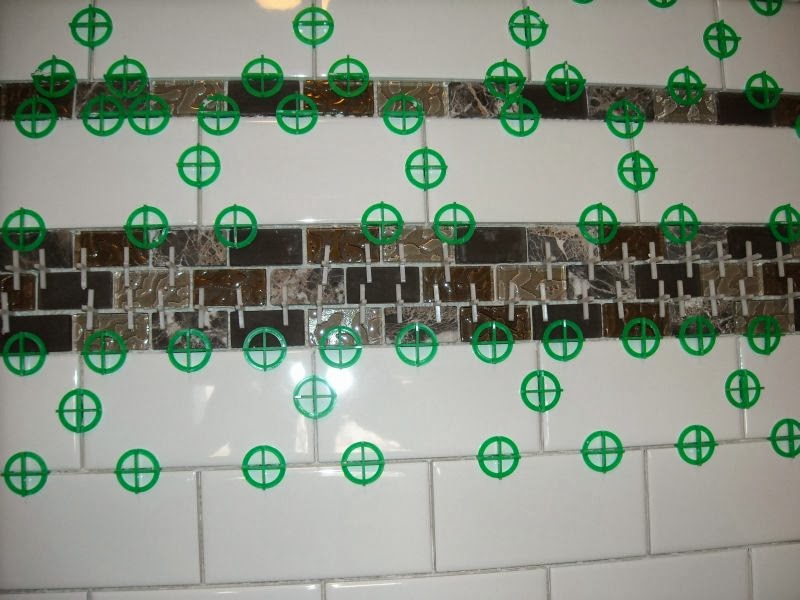 |
| Putting up mosaic on mesh backing is not near as easy as they make it look on TV!! |
 |
| I do really like these spacers! Pretty easy to use and easy to remove - for the most part! |